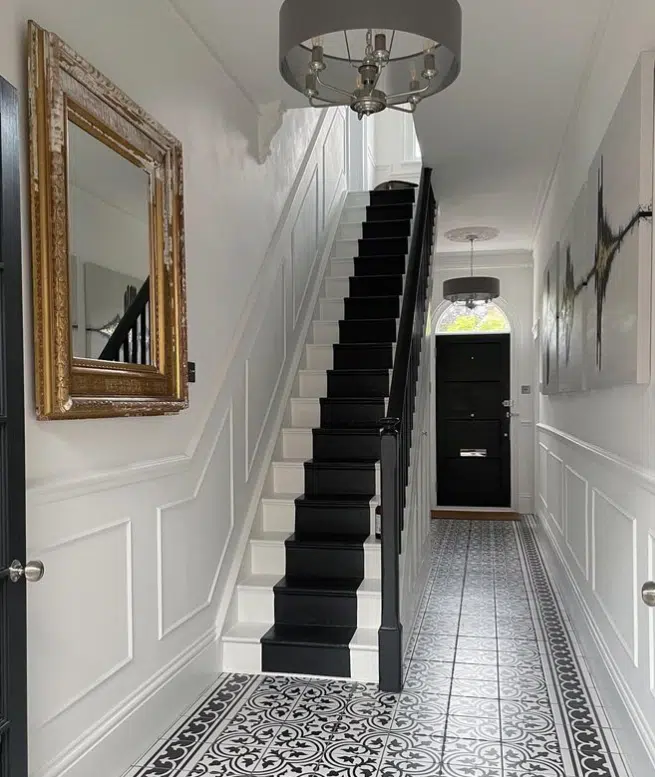
Shiplap is a form of wooden board that is commonly used as exterior siding on homes, barns, sheds, and outbuildings. Unless you’ve been living under a rock, you’re already aware that shiplap is a popular home design style that has boomed in recent years. All of the homeowners include this wall type in their home repairs and updates.

Why? Because it looks wonderful, it is cost-effective, and it is a do-it-yourself project that any moderate homeowner can complete.
You’ve probably seen shiplap design on Home & Garden television shows, and you’re eager to incorporate it into your own home.
The following are shiplap painting techniques to help you join the trend.
What Kind of Paint Should I Use on Shiplap?
Before you begin painting, you should determine the best quality of paint for a shiplap-style wall. Utilize a water-based paint and primer in one for the greatest results on wood shiplap. This saves you time and money since you’re not using paint and a separate primer—plus, an all-in-one paint product provides improved coverage, which means fewer coats of paint are required.
You will also need to choose the suitable paint sheen to suit the aesthetic you have in mind, but bear in mind that efficiency should be considered as well. However, while a flat sheen (also known as a matte sheen) looks beautiful on shiplap, it is tough to maintain cleanliness.
If the shiplap is to be installed in a specific location, such as the kitchen or dining room, a semi-gloss sheen will be easier to clean. You might also choose a sheen in the middle, such as satin or eggshell, which provides a more matte effect while remaining relatively easy to clean.
Seven Steps to Painting Shiplap
- You will need the basic supplies for your shiplap painting:
- plastic or canvas drop cloth
- preferred painting medium
- Palm sander and sandpaper
- paintbrush, roller, and tray tray
- Spackle
- paintable silicone sealant
Protect the floor and surroundings from color blocking and drips by protecting them.
Shape the shiplap boards by sanding them with sandpaper or a palm sander, and then clean away any particles with a commercial vacuum.
Before applying paint, use a primer product, which you should apply before the paint dries. Using an all-in-one paint and primer package makes this step unnecessary.
Use a paintbrush or roller to apply the first layer of paint before you put the boards up. To paint your shiplap gaps, you’ll find it easier to use a little paintbrush, which will allow you to reach into all the hard-to-reach nooks and corners.
Cleaning and filling nail holes with paintable caulk or spackle after installing shiplap, or if they have already been done, is recommended.
After the caulk or spackle has dried, lightly sand the surface.
Roll or brush on a final coat of paint, making sure to fill any nail gaps and grooves with the little paintbrush.
Apex Paintings Group are the Shiplap Painting Experts to call on!
Would you want to have a professional finish your shiplap painting for you? Apex Painters Group has the option of painting over shiplap in your home. You will save time and receive outcomes that meet your expectations. Dial +1 239-878-3710 or book an appointment on the website right away.

